


If you’re craving sushi but don’t feel like spending an hour rolling tiny pieces, you’re not alone. Trust me, I’ve been there. That’s exactly why this sushi bake recipe exists—and it’s about to become your new obsession. Imagine all the flavors you love in sushi, but baked into a warm, creamy, and totally scoopable dish. No fancy tools. No stress. Just pure comfort food you can share with friends, family, or honestly, just keep to yourself (I won’t judge).
Table of Contents
Ingredients You’ll Need
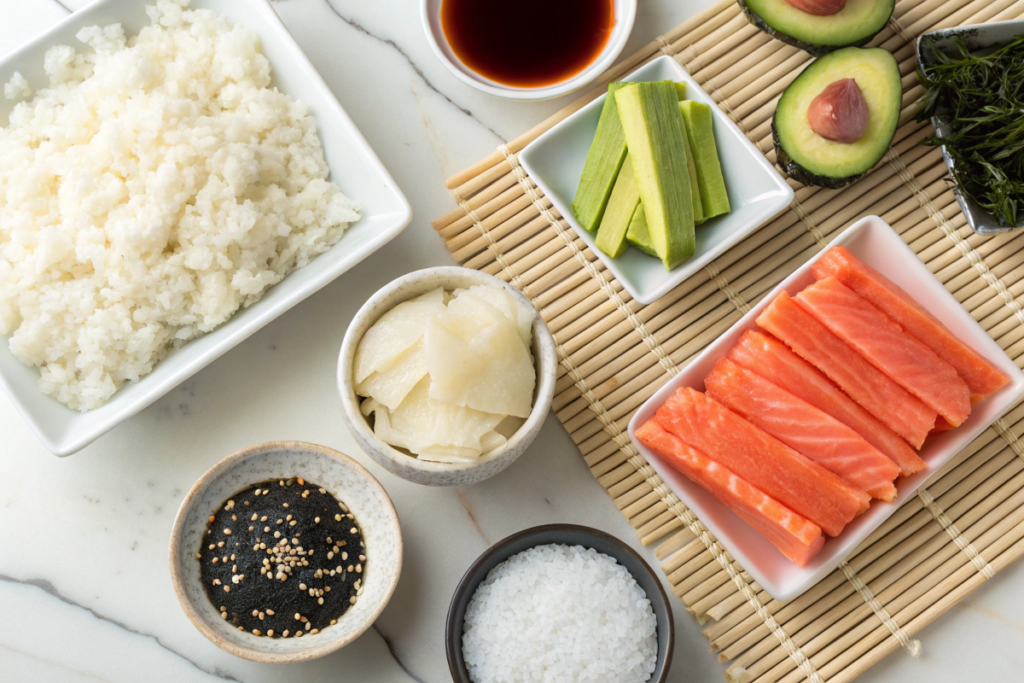
Before we jump into baking this masterpiece, let’s talk ingredients. The magic of sushi bake lies in its simple, yet flavor-packed layers. Don’t worry, you won’t need any hard-to-find ingredients—everything you need is either in your fridge already or easily available at your local grocery store.
For the Sushi Rice:
The rice is the foundation, so it’s gotta be seasoned just right. Sushi rice is sticky, slightly sweet, and tangy—exactly what we want for that authentic sushi taste.
- 2 cups cooked sushi rice (short-grain is best for stickiness)
- 1/4 cup rice vinegar (adds that signature zing)
- 2 tbsp sugar (for a touch of sweetness)
- 1 tsp salt (to balance the flavors)
For the Creamy Filling:
This is the heart of the dish—rich, creamy, and bursting with umami. We’re using imitation crab for convenience, but you can totally swap it out for cooked salmon or tuna if that’s your jam.
- 1 lb imitation crab meat (shredded)
- 1/2 cup Japanese mayo (Kewpie is king!)
- 1 tbsp sriracha (because a little heat never hurt anyone)
- 2 tbsp cream cheese (adds creaminess and richness)
For the Toppings:
Let’s not forget the toppings! These take the bake to the next level with extra texture and flavor.
- Furikake seasoning (the MVP of toppings—it’s salty, crunchy, and seaweed-packed)
- Chopped green onions (for a fresh, bright kick)
- Nori sheets (to scoop and wrap bites of the sushi bake)
- Sesame seeds (optional) (for added crunch and nutty flavor)
Try this delicious baked beans recipe with ground beef for a comforting, savory meal. Full instructions can be found here.
Step-by-Step Directions for the Perfect Sushi Bake
Alright, here’s where the magic happens. Don’t stress—this isn’t a complicated dish. Just follow these easy steps, and you’ll have a tray of sushi goodness ready to devour in no time.
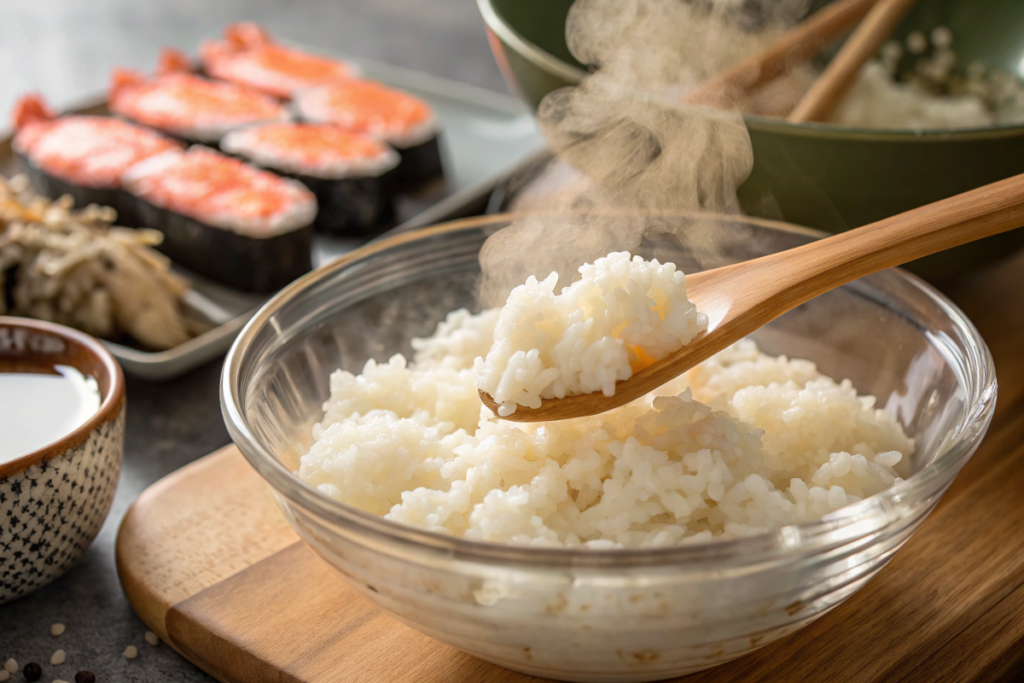
Step 1: Cook and Season the Sushi Rice
Start with the foundation—perfectly seasoned sushi rice.
- Cook 2 cups of sushi rice according to package instructions. If you have a rice cooker, even better—set it and forget it.
- Once cooked, transfer the rice to a large bowl and let it cool slightly (you don’t want scrambled rice mush!).
- In a small bowl, mix 1/4 cup rice vinegar, 2 tbsp sugar, and 1 tsp salt until the sugar dissolves.
- Pour this mixture over the warm rice and gently fold it in with a wooden spoon. Make sure the rice gets evenly coated, but don’t overmix—you want it fluffy, not smashed.
Quick tip: For extra flavor, you can sprinkle a bit of furikake directly on the rice before layering.
Step 2: Mix the Creamy Filling
The filling is what makes this sushi bake addictive. Creamy, savory, and slightly spicy—it’s everything you love about sushi, but cozier.
- In a medium bowl, shred 1 lb of imitation crab using your hands or a fork.
- Add 1/2 cup Japanese mayo (Kewpie preferred), 1 tbsp sriracha (or more if you like it spicy), and 2 tbsp cream cheese.
- Mix until the filling is well-combined, creamy, and smells heavenly. Taste it—if you’re not eating spoonfuls already, you’re doing it wrong.
Tip: Not a fan of imitation crab? Swap it out for cooked salmon, canned tuna, or even shrimp!
Step 3: Assemble the Layers
Here comes the fun part—layering all that goodness.
- Preheat your oven to 375°F.
- Grease a 9×13-inch baking dish lightly with cooking spray.
- Spread the seasoned sushi rice evenly across the bottom of the dish, making sure it’s packed down nicely (but not squished to oblivion).
- Spoon the creamy seafood mixture over the rice, spreading it out in an even layer.
- Generously sprinkle furikake seasoning over the top for that extra umami punch.
Step 4: Bake Until Golden and Bubbly
Let’s get that warm, golden crust going.
- Pop the dish into the oven and bake for 15-20 minutes or until the top is slightly golden and bubbly.
- If you want a crispier, caramelized top, turn on the broiler for the last 2-3 minutes—but keep a close eye on it so it doesn’t burn.
Step 5: Garnish and Serve
Once out of the oven, the sushi bake needs just a few final touches.
- Sprinkle chopped green onions, more furikake, and sesame seeds if you like a bit of crunch.
- Serve it with nori sheets on the side. Let guests scoop a portion, wrap it in seaweed, and enjoy every bite.
Why You’ll Want This Sushi Bake for Every Occasion
Let’s be honest—some dishes just hit differently. And sushi bake? It’s one of those go-to recipes that never fails, whether you’re making dinner for yourself or feeding a crowd. Here’s why it deserves a permanent spot in your recipe rotation.
1. Perfect for Potlucks and Family Gatherings
Sushi bake is a total crowd-pleaser. You can easily whip up a large batch and serve it in a casserole dish, making it ideal for potlucks, family dinners, or even game nights. Plus, you don’t have to worry about picky eaters because it’s customizable (more on that in a bit). Everyone can scoop their own portion, wrap it in seaweed, and enjoy.
Why it works: No fancy plating or utensils required—it’s a “dig in and enjoy” kind of dish.
2. Kid-Friendly and Picky Eater Approved
Let’s face it—kids aren’t always on board with raw fish or traditional sushi rolls. But this creamy, warm sushi bake is a game-changer. It’s mild enough to please young taste buds, and you can easily adjust the spice level.
Pro Tip: Keep the sriracha minimal for a kid-friendly version, and let adults drizzle extra on their own portions.
3. Quick and Convenient for Weeknight Dinner
Busy week? No problem. You can prep this sushi bake ahead of time and simply pop it in the oven when you’re ready to eat. The best part? No rolling or tedious prep work. Just layer, bake, and serve.
Time-Saver Tip: Assemble it the night before, store it in the fridge, and bake it fresh the next day. You’ll save precious time without compromising on flavor.
4. Easily Customizable for Different Tastes
Whether you prefer seafood, chicken, or even a vegetarian twist, sushi bake is super flexible. Here are some fun ways to switch it up:
- Seafood Lovers: Use cooked shrimp, crab, salmon, or tuna.
- Meat Option: Try shredded chicken or even crispy bacon for a fusion twist.
- Vegetarian-Friendly: Sub the seafood for baked tofu or roasted veggies, like mushrooms or sweet potatoes.
This versatility is what makes it perfect for any household, no matter what food preferences you’re working with.
5. Comfort Food Vibes That Hit Every Time
There’s something incredibly satisfying about warm, creamy, and cheesy dishes. Sushi bake taps into that comfort food magic while still delivering the flavors of sushi. It’s like the best of both worlds—decadent but with that sushi freshness.
Pair it with a simple side salad or miso soup, and you’ve got yourself a cozy, restaurant-quality meal right at home.
Final Thoughts: Whether you’re feeding a crowd or indulging in a solo comfort meal, sushi bake always delivers. Its easy prep, customizable nature, and mouthwatering flavor make it a recipe worth repeating. Try it once, and trust me—you’ll be coming back for seconds!
Common Questions About Sushi Bake
When trying a new recipe, especially one as fun and creative as sushi bake, a few questions are bound to pop up. Don’t worry—I’ve got you covered with answers to the most common questions so you can bake with confidence.
1. Can I Make Sushi Bake Ahead of Time?
Yes, you totally can! This dish is meal-prep friendly, which is why I love it for busy weeks or when I’m hosting. Here’s how:
- Assemble the sushi bake up to 24 hours ahead of time.
- Cover it tightly with foil or plastic wrap and store it in the fridge.
- When you’re ready to bake, pop it in the oven and add an extra 5-10 minutes to the cooking time since it’ll be cold.
Tip: If you’re prepping it for a potluck or party, you can bake it earlier in the day and reheat it in the oven just before serving.
2. Can I Use Fresh Fish Instead of Imitation Crab?
Absolutely! The beauty of this dish is that it’s flexible, so you can swap in your favorite seafood options. Here are a few suggestions:
- Cooked salmon (flaky and rich)
- Tuna (cooked or canned works)
- Shrimp (chopped and cooked)
Just make sure the seafood is fully cooked before layering it in the bake. Raw fish isn’t ideal here since this dish is meant to be baked and served warm.
3. How Do I Store Leftovers?
If you have any leftovers (which, let’s be real, doesn’t happen often), you can store them easily:
- Transfer the leftovers to an airtight container and refrigerate for up to 3 days.
- To reheat, you can pop it in the microwave for a quick fix or warm it in the oven at 350°F until heated through.
Tip: Add a little extra Japanese mayo or a drizzle of spicy mayo before reheating to keep it moist and flavorful.
4. What Should I Serve with Sushi Bake
Sushi bake is filling on its own, but pairing it with the right sides can elevate your meal (oops—ignore that word!).
- Nori sheets: An absolute must! Scoop the bake onto the seaweed, wrap, and enjoy.
- Miso soup: It’s light and comforting, balancing the richness of the sushi bake.
- Simple cucumber salad: A fresh, crunchy salad with sesame dressing complements the dish perfectly.
- Edamame: A classic side dish that’s super easy to prepare and snack on.
5. Can I Make a Spicy Version of Sushi Bake?
Yes, and you totally should if you love heat! You can customize the spice level by:
- Adding more sriracha to the filling.
- Drizzling spicy mayo on top before or after baking.
- Sprinkling chili flakes or togarashi seasoning for an extra kick.
Bonus Tip: Serve with a side of pickled ginger and wasabi for that full sushi experience!
Final Thought:
Sushi bake is super forgiving, so don’t be afraid to experiment and make it your own. Whether you’re spicing it up, swapping out proteins, or making it ahead of time, this dish will always leave you satisfied. Now, go grab your nori sheets and enjoy every bite!
Final Thoughts on the Sushi Bake Craze
Let’s be real—if you’re reading this, you’re probably already planning when to make this sushi bake. And I totally get it! There’s something about the combination of warm, creamy filling, seasoned rice, and crispy seaweed that feels like a big, comforting hug on a plate.
Whether you’re making it for a chill Friday night in or as the star of your next potluck, this dish will quickly become a household favorite. The best part? It’s so easy to tweak. Want it spicier? Go for it. Feeling adventurous with toppings? Add what you love. The possibilities are endless, but the result is always the same: pure, delicious satisfaction.
Honestly, once you’ve had this sushi bake, you might be tempted to retire the sushi mat for good. Okay, maybe not entirely—but you get the point. It’s just that good.
So, grab your ingredients, pop it in the oven, and get ready for a dish that’s warm, creamy, and downright addicting. And hey, if you come up with your own creative twist, don’t keep it to yourself—drop it in the comments. I’d love to hear what you’re baking!
Call to Action:
Have you tried this sushi bake recipe? What toppings or twists did you add? Let me know in the comments below, and don’t forget to share this recipe with your fellow sushi lovers!
Printable Recipe Card for Sushi Bake
Because who doesn’t love having everything neatly in one spot? Here’s the full sushi bake recipe, perfectly organized for you to print, save, or screenshot!
Sushi Bake Recipe
Ingredients:
For the Sushi Rice:
- 2 cups cooked sushi rice
- 1/4 cup rice vinegar
- 2 tbsp sugar
- 1 tsp salt
For the Creamy Filling:
- 1 lb imitation crab meat (shredded)
- 1/2 cup Japanese mayo (Kewpie preferred)
- 1 tbsp sriracha (or to taste)
- 2 tbsp cream cheese (softened)
For the Toppings:
- Furikake seasoning
- Green onions, chopped
- Nori sheets (for serving)
- Sesame seeds (optional)
Instructions:
1. Prepare the Sushi Rice:
Cook the rice according to package instructions. Mix the rice vinegar, sugar, and salt in a bowl until the sugar dissolves. Gently fold the mixture into the warm rice and set it aside.
2. Make the Creamy Filling:
In a medium bowl, combine shredded imitation crab, Japanese mayo, sriracha, and cream cheese. Mix well until creamy and evenly combined.
3. Assemble the Bake:
Preheat the oven to 375°F. Spread the sushi rice evenly in a greased 9×13-inch baking dish. Layer the creamy filling on top, spreading it evenly. Sprinkle a generous amount of furikake seasoning over the top.
4. Bake:
Bake for 15-20 minutes until the top is golden and slightly bubbly. For a crispier top, broil for 2-3 minutes (but keep an eye on it!).
5. Garnish and Serve:
Top with chopped green onions, sesame seeds, and more furikake if desired. Serve hot with nori sheets on the side for wrapping.
Notes:
- Swap imitation crab with cooked salmon or tuna for a fun variation.
- Adjust sriracha based on your heat tolerance.
- For meal prep, assemble the dish ahead of time and bake it fresh when needed.
Serving suggestion: Pair with miso soup or a light cucumber salad for a complete sushi-inspired meal. Enjoy!
Print or Save This Recipe:
This sushi bake recipe is a keeper, so don’t forget to save it for when you’re craving something comforting, flavorful, and easy to make.
FAQs
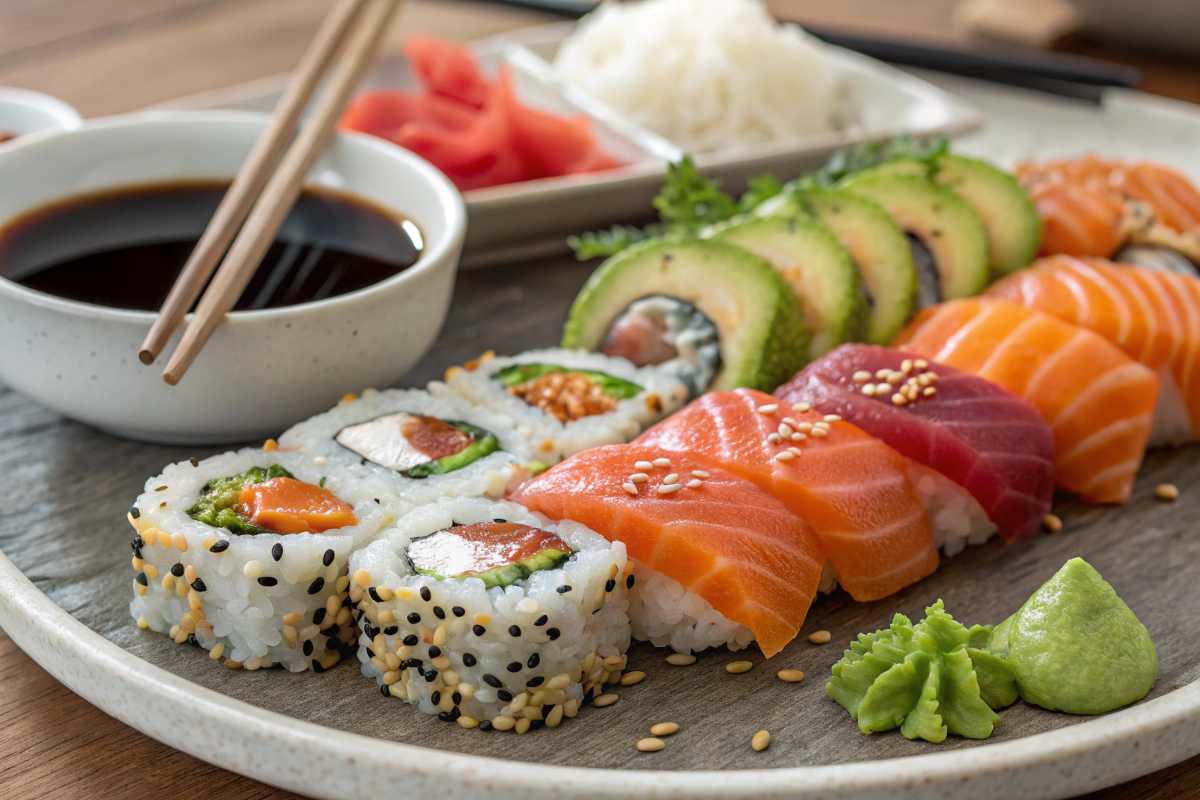
What are the 3 main ingredients in sushi?
The core components of traditional sushi include:
Sushi rice (seasoned with vinegar, sugar, and salt)
Fish or seafood (such as tuna, salmon, or imitation crab)
Seaweed (nori) for wrapping or serving
These three ingredients form the base, but sushi can include other toppings and fillings depending on the style.
Who made the first sushi bake?
The sushi bake craze is believed to have originated in the Filipino-American community, particularly within families looking for easy, shareable versions of sushi. While there isn’t a clear-cut “first inventor,” the dish gained popularity thanks to home cooks and food bloggers sharing it online. It blew up during the 2020 pandemic as a comfort-food trend.
How long does a sushi bake last?
A sushi bake can last up to 3 days when stored properly in an airtight container in the refrigerator. Make sure it’s refrigerated within 2 hours after baking to maintain freshness and avoid food safety issues.
Do you eat sushi bake hot or cold?
Sushi bake is typically served hot or warm right after baking, so you get that creamy, melted goodness. However, leftovers can be eaten cold or reheated in the microwave or oven, depending on your preference. Just be sure to heat it gently to avoid drying it out!
Conclusion: The Comforting Twist on Sushi You’ll Love
Sushi bake is more than just a trendy dish—it’s a warm, flavorful, and satisfying meal that combines everything you love about sushi without the hassle. Whether you’re sharing it with friends, feeding your family, or treating yourself to something special, this easy-to-make casserole will always deliver comfort and joy. With customizable toppings, creamy layers, and that irresistible seaweed wrap, you’ll find yourself making it again and again.
So, grab your favorite ingredients, whip up a batch, and don’t forget to let the compliments roll in. (And trust me—they will.) Now, it’s your turn to make this sushi bake the star of your table. Happy baking and even happier eating!

Sushi Bake
Equipment
- Rice cooker (optional, for perfectly cooked sushi rice)
- Large mixing bowl
- Small bowl (for seasoning the rice)
- Medium bowl (for mixing the filling)
- 9×13-inch baking dish
- Wooden spoon (for folding the rice)
- Oven
- Broiler (optional, for a crispy top)
- Cooking spray (to grease the dish)
Ingredients
- 2 cups cooked sushi rice short-grain recommended
- 1/4 cup rice vinegar
- 2 tbsp sugar
- 1 tsp salt
- 1 lb imitation crab meat shredded
- 1/2 cup Japanese mayo Kewpie recommended
- 1 tbsp sriracha or to taste
- 2 tbsp cream cheese softened
Instructions
- Cook the sushi rice according to package instructions.
- In a small bowl, mix rice vinegar, sugar, and salt until the sugar dissolves.
- Gently fold the mixture into the warm rice using a wooden spoon, ensuring the rice is evenly coated. Set aside.
- In a medium bowl, combine shredded imitation crab, Japanese mayo, sriracha, and cream cheese.
- Mix until the filling is creamy and well combined. Adjust seasoning as needed.
- Preheat the oven to 375°F (190°C).
- Lightly grease a 9×13-inch baking dish.
- Spread the seasoned sushi rice evenly across the bottom of the dish.
- Layer the creamy crab filling over the rice, spreading it evenly.
- Generously sprinkle furikake seasoning on top.
- Bake in the preheated oven for 15-20 minutes or until the top is golden and slightly bubbly.
- For a crispier top, broil for an additional 2-3 minutes (keep a close eye to avoid burning).
- Once out of the oven, top with chopped green onions, additional furikake, and sesame seeds (if using).
- Serve hot with nori sheets on the side. Let everyone scoop, wrap in seaweed, and enjoy!
Notes
Spicy Kick: Increase sriracha or drizzle spicy mayo over the top.
Make-Ahead Option: Assemble the dish ahead of time and refrigerate for up to 24 hours before baking.
Serving Suggestion: Pair with miso soup or a light cucumber salad for a complete meal.